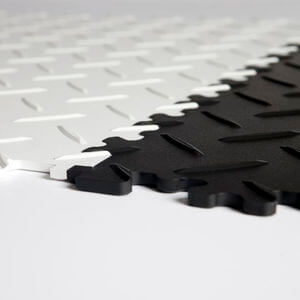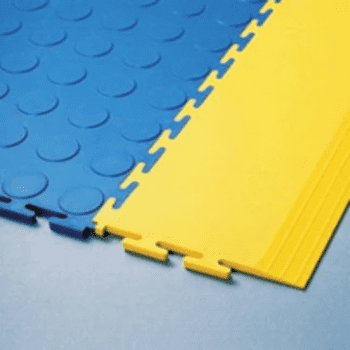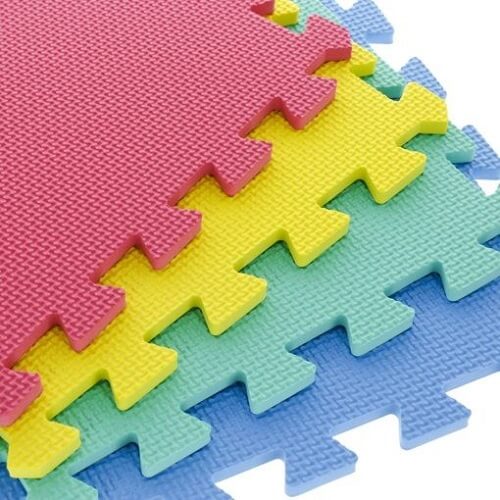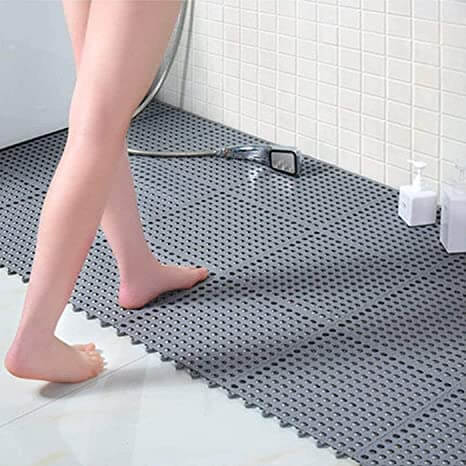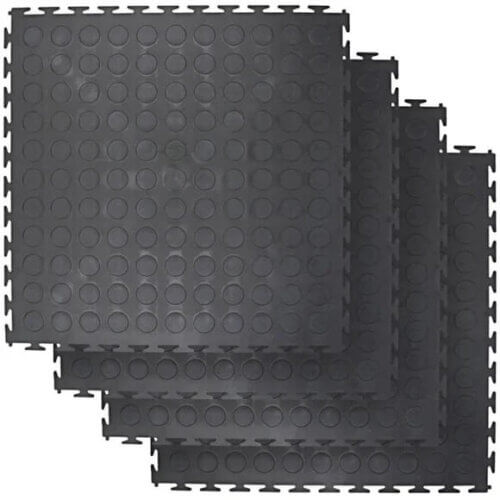
Rubber interlocking flooring has a variety of preferred properties that has made it the flooring of choice for area with high traffic, heavy usage and commercial environment and also for home usages as well. The rubber tiles comes in a variety of designs, styles, size and colors and installers are spoilt with the range of options.
Interlocking rubber tiles are naturally:-
- Resilient – They can withstand many straining factors
- Heavy-duty – Can withstand heavy impacts and shocks
- Slip-resistant – The rubber itself naturally and the interlocking system provides good and effective slip resistant surface
The interlocking tiles sizes typically comes in 12-inch, 24-inch and 36-inch squares. Interlocking rubber tiles are easy to lay and DIYers are very comfortable with using them, one just needs to follow the simple laid instructions and guidelines on setting up when installing the interlocking tiles.
Rubber Interlocking Flooring Installation
Rubber tiles can be installed on any floor, they can be laid on top of carpets, porcelain or ceramic tiles or even on top of a concrete or cement floor the subfloor should just be flat and firm. No really special floors are required or is necessary to be laid the rubber flooring. The rubber flooring is usually installed to protect the subfloors.
All you need when installing interlocking rubber flooring are
- Razor knife
- Hammer
- Steel ruler
- Square set
- Steel scraper
The number of tiles needed for your area in very simple all need is a tape measure then calculate the area, then divide the area by the size of the tiles you need then you come up with the number tiles you need. It is also important that you get a few extra tiles any replacement requirement.
Guide on installing the tiles
- The first step is to clear and clean the subfloor from any debris, the subfloor should be very clean
- Make sure that the underlayment is rigid and flat, the flatness of the underlayment has a direct effect on the finished rubber interlocking flooring, so you need to make sure that all the cracks and the unevenness is covered before install the tiles.
- Identify the center of the area that you need to install and start from the center
- There are 2 laying options you can choose from when laying the interlocking tiles:-
- Place your first tile on the center and put 2 more tiles, one sideway and one in front to create a 90-degree angle and put a square to make sure it is not tilted.
- Or you can start by laying the first roll against the edge or the wall and make sure it flushes with the wall.
- If you are installing using any adhesive you should first lay the tiles and cut the necessary pieces before applying the adhesive so as to avoid the glue to dry before laying the tiles.
- Once you have the area completely covered with the tiles, you then trim them to fit the exact shape and size.
- Once you are done installing the tiles clean up, remove all the cutoffs, clear the area and you are done.
Advantages of installing interlocking rubber flooring
- Rubber flooring is sound proof, it helps reduces the sound of footsteps
- Rubber flooring also provide extra grip, it is naturally slip-resistant
- Rubber flooring is ant-fatigue it makes the floor more even more comfortable to walk or stand on.
- Rubber flooring in impact and shock absorbent
- Rubber flooring is resilient, durable and resistant, it is long lasting and easy to maintain making it a very cost effective flooring option.
- Rubber flooring is versatile can be used for various activities besides the main reason it was installed for.
How Can You Keep Your Rubber Interlocking Flooring Tiles Looking Like New?
Wondering how to keep your rubber interlocking flooring spotless and vibrant? It all starts with understanding the unique environment where your tiles are laid. To avoid those pesky stains and discolorations, especially in areas with heavy machinery, direct sunlight, or harsh chemicals, a little forethought goes a long way.
Ever noticed how some rubber materials, like the tires on your warehouse cart, can leave behind a brownish tinge on the floor? That’s due to a chemical tango between the antioxidants in rubber and the plasticizers in vinyl. While darker tiles are more forgiving, showing less discoloration, it’s not something you have to live with.
The trick? A protective sealer could be your best friend here. Apply our high-quality, pvcocity sealer, that helps shield your floors from damage, keeping them looking as good as new. It’s a simple step that ensures your floors remain tough and beautiful, even in the busiest spots.
To Glue or Not to Glue Your Rubber Interlocking Flooring Tiles?
The rubber interlocking flooring’s adaptability is one of its superpowers—usually, you can lay it down right over any solid surface with zero glue. But, there are a few scenarios where sticking those tiles down is a must:
Sunny Spots: Got a sunny entrance or a part of your floor that basks in sunlight? Those tiles might get a bit too warm and expand, leading to warping. A bit of adhesive in these areas keeps everything level and smooth.
Heavy Duty Traffic: If your space hosts heavy vehicles, especially those quirky electric forklifts with smaller wheels, you might want to consider gluing down your flooring. Why not do a trial run first? Lay some tiles, let the vehicles do their thing, and see if the tiles handle the stress.
Heat Zones: Near some intense heat sources? Areas close to ovens, furnaces, or vehicles with catalytic converters should have their tiles firmly glued to avoid the tiles getting all warped from the heat.
While glue isn’t always necessary, it pays to assess your space and decide based on what your day-to-day looks like.
How to Prepare Your Space for Rubber Interlocking Flooring
Excited to lay down your new interlocking rubber tile flooring? Here’s how you can prepare your space to ensure a seamless installation:
Let Them Settle: Start by letting your tiles get used to their new home! Allow them to acclimate to the room’s temperature for about 24 hours. Cooler than 15°C? You might need to give them a bit more time or space for expansion.
Smooth Things Over: Your subfloor needs to be spotless and even. Sweep away debris, level out any uneven spots with a floor repair compound, and consider a smoothing compound for rougher areas.
Plan Your Layout: Decide whether you’re going hidden join or open join. Use a chalk line or a laser to ensure everything’s perfectly aligned. Laying out your tiles before installing helps you spot any potential issues early.
Get Installing: Choose your starting point and follow your layout plan. Lay the tiles, tap them gently into place, and watch as your new floor comes together beautifully.
By keeping these tips in mind, you’re all set for a successful installation that will leave your space looking fantastic and functional.
Rubber interlocking flooring is very easy to install, the product usually comes with a DIY instructions for the benefit of those that want to lay it their selves, it is simple and fast on a smaller area, but very time consuming on larger areas. Contact us for a quote from our consultants.
